Replace macOS with Asahi Linux and keep support for firmware upgrades
I recently bought an Apple Macbook Air M2 and wanted to fully run Linux on it, as I’m used to doing with most of my devices. I have no interest in switching to macOS nor getting invested into the “Apple Ecosystem”, so I just installed Fedora Asahi Remix on it.
Prerequisites
- Install Fedora Asahi Remix
- Install macOS on an external drive
- A USB-C to Ethernet adapter
- A USB pendrive
Delete macOS*
I know, I know. Everyone involved with Asahi Linux always shouts at you “Don’t delete macOS! You need it for firmware upgrades!“.
Don’t worry, you’ll still have macOS. It’s just that it will be on an external drive.
This setup is a bit unusual but it’s still supported according to @marcan, who used to be Asahi Linux’s project lead.
That said, note that you are expected to keep that external macOS install around to handle upgrades at this time (…) If you were to install Asahi like this and then erase your external drive, you would have an unsupported system and might run into trouble in the future.
Boot into recoveryOS
Turn off your Mac.
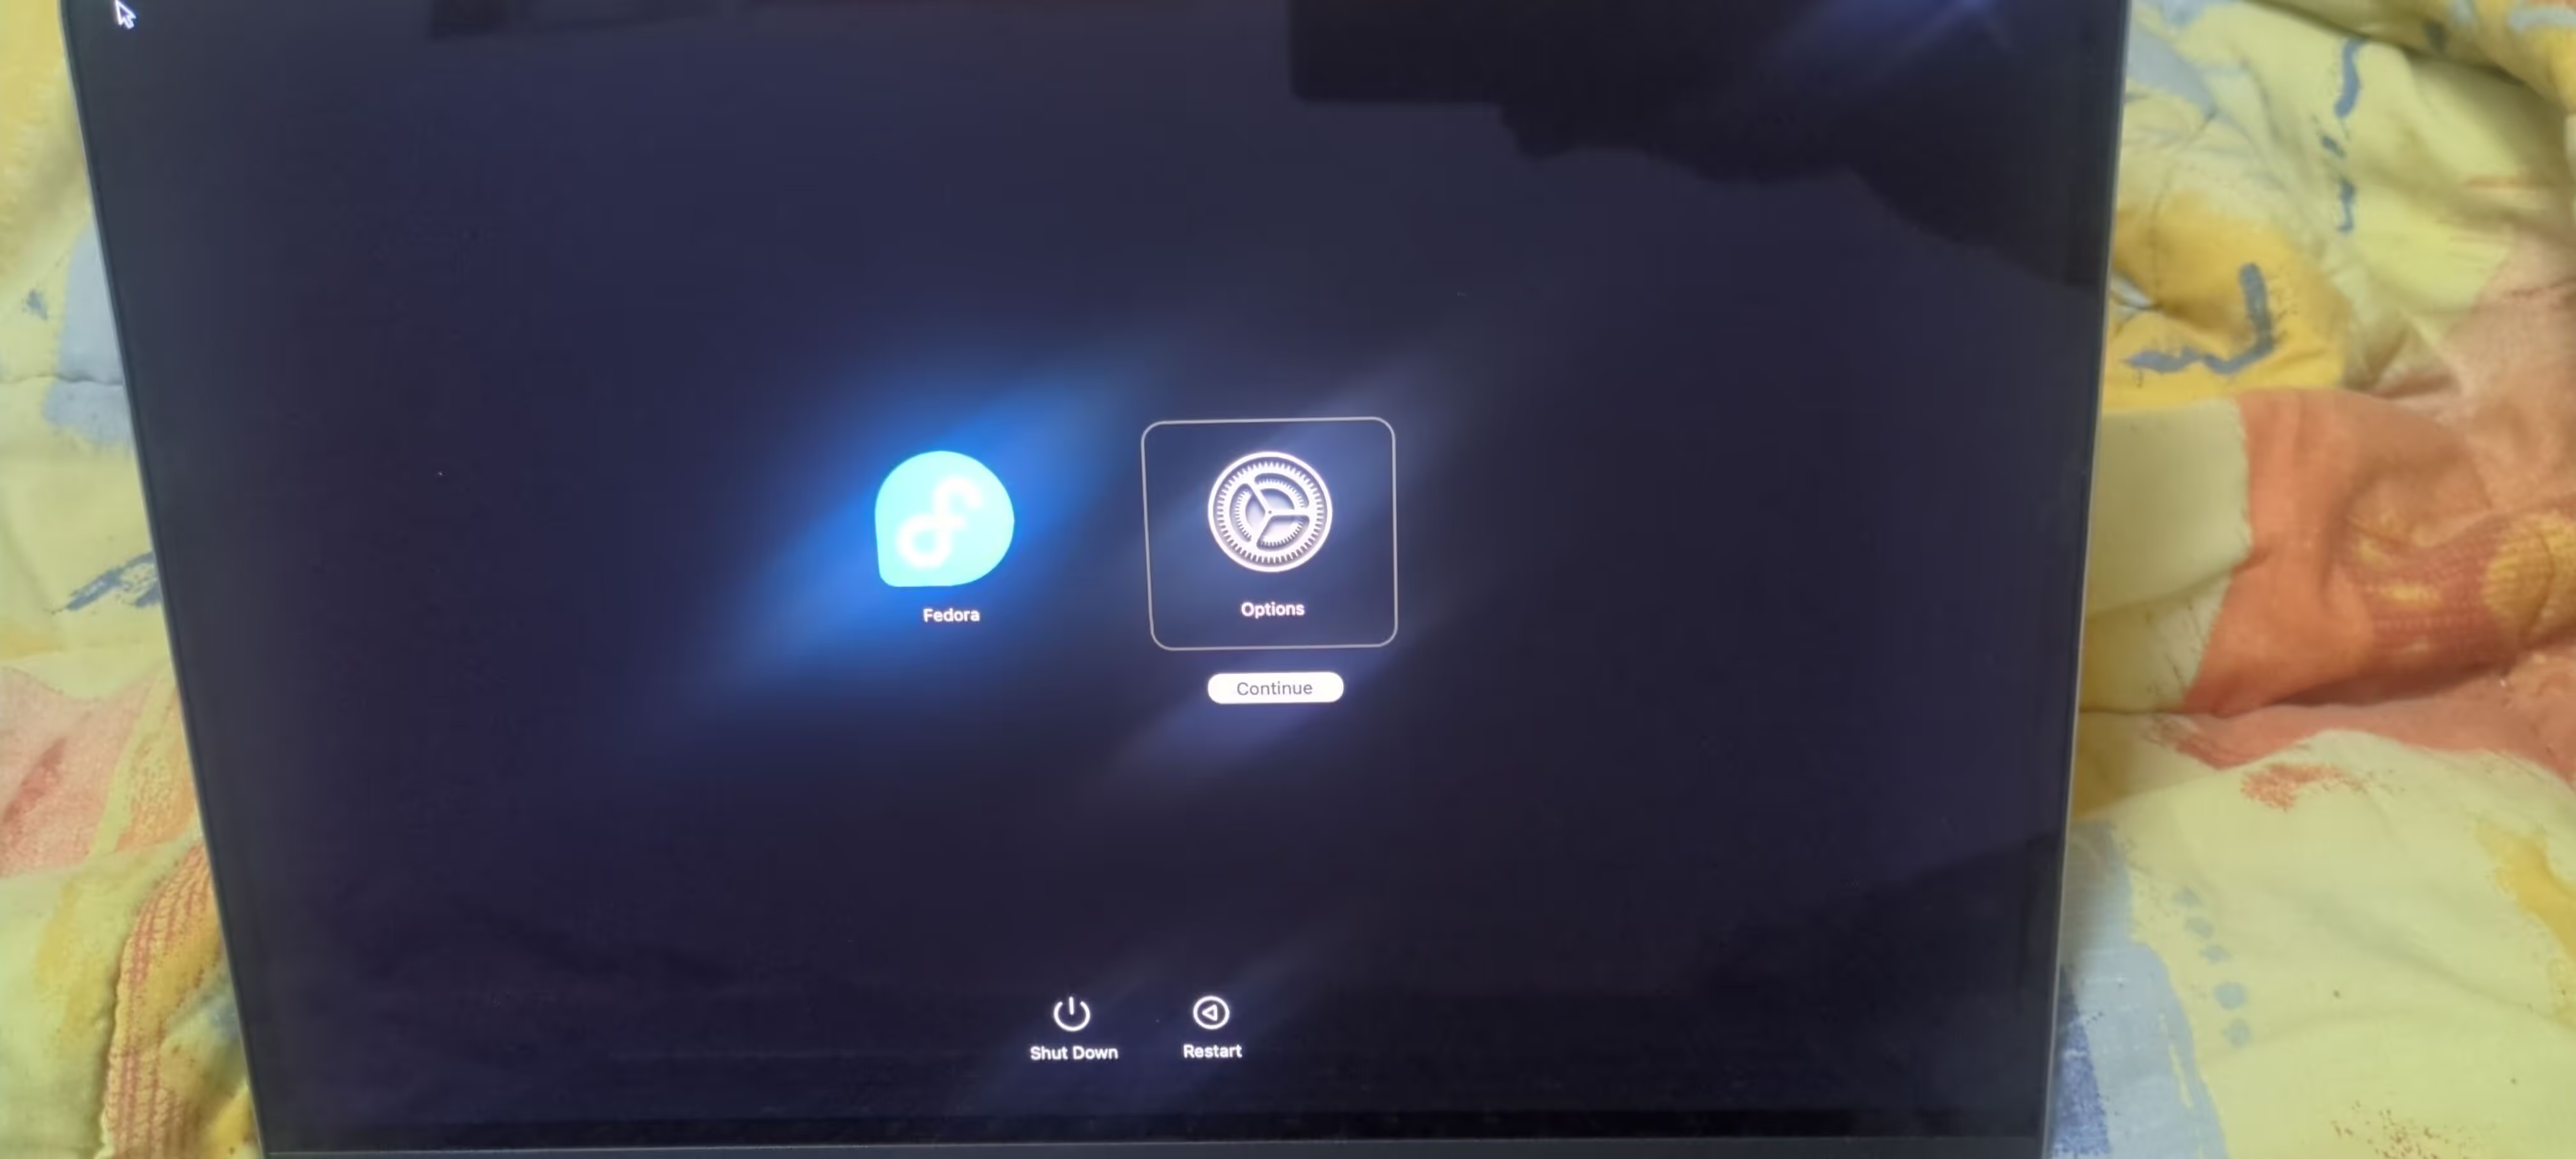
Press and hold the power button until you see “Loading startup options”.
Click on “Options”.
Delete APFS container with diskutil
Open a terminal window. To do this, click on “Utilities” on the menu bar and then “Terminal”.
Use this command to identify your current internal macOS drive.
diskutil listIts output should look similar to this
/dev/disk0 (internal):
#: TYPE NAME SIZE IDENTIFIER
0: GUID_partition_scheme 500.3 GB disk0
1: Apple_APFS_ISC 524.3 MB disk0s1
2: Apple_APFS Container disk3 380.0 GB disk0s2
3: Apple_APFS Container disk4 2.5 GB disk0s5
4: EFI EFI - ASAHI 500.2 MB disk0s4
5: Linux Filesystem 54.2 GB disk0s7
(free space) 57.2 GB -
6: Apple_APFS_Recovery 5.4 GB disk0s3
/dev/disk3 (synthesized):
#: TYPE NAME SIZE IDENTIFIER
0: APFS Container Scheme - +380.0 GB disk3
Physical Store disk0s2
1: APFS Volume Macintosh HD 15.2 GB disk3s1
2: APFS Snapshot com.apple.os.update-... 15.2 GB disk3s1s1
3: APFS Volume Preboot 887.6 MB disk3s2
4: APFS Volume Recovery 798.7 MB disk3s3
5: APFS Volume Data 157.1 GB disk3s5
6: APFS Volume VM 20.5 KB disk3s6
/dev/disk4 (synthesized):
#: TYPE NAME SIZE IDENTIFIER
0: APFS Container Scheme - +2.5 GB disk4
Physical Store disk0s5
1: APFS Volume Asahi Linux - Data 884.7 KB disk4s1
2: APFS Volume Asahi Linux 1.1 MB disk4s2
3: APFS Volume Preboot 63.6 MB disk4s3
4: APFS Volume Recovery 1.8 GB disk4s4In this case, it’s identified as disk3 or disk0s2. It probably has a different identifier on your system.
Check, double check, and triple check that this is the correct macOS drive and that you have a bootable external macOS drive. Failure to do so will result in having a broken or unsupported system and might encounter issues in the future.
To delete the internal macOS APFS container, use one of these forms:
# Choose one
diskutil apfs deleteContainer disk3
diskutil apfs deleteContainer disk0s2
Debian Live Boot
You now have some unused storage where the macOS APFS container used to be. Although you can’t grow your current Linux partition while it’s booted.
That’s where m1-debian comes in.
Create Livesystem
Go to m1-debian’s git repository and follow the steps in the section “Livesystem”.
I recommend doing this in a regular Intel/AMD computer.
Boot into Debian
Disconnect every USB device except the USB pendrive and reboot your computer.
The Asahi logo will show. Once you get to the “Press any key to skip autoboot”, press any key.
Once in the U-Boot shell, run this command to load GRUB.
run bootcmdOnce in the GRUB shell, identify your USB pendrive.
lsIts output should look similar to this
(proc) (memdisk) (hd0) (hd0,gpt6) (hd0,gpt5) (hd0,gpt4) (hd0,gpt3) (hd0,gpt3) (hd0,gpt2) (hd0,gpt1) (hd1) (hd2) (hd3) (hd3,msdos1)In my device, the USB pendrive is (hd3,msdos1), which is the only FAT32 partition connected to the computer.
Use these commands to finally boot into Debian. (By the way, the keyboard layout is set to en_US, so if you’re not American good luck with that).
linux (hd3,msdos1)/vmlinuz
initrd (hd3,msdos1)/initrd.zstd
boot
You will see a lot of Systemd spam on the screen, so much that you might have missed the debian login: prompt and think Debian didn’t boot properly.
To log in, just type root, there is no password.
Connect to the internet
You can connect to the internet using Wi-Fi, but I didn’t bother with it because I have a USB-C to Ethernet adapter.
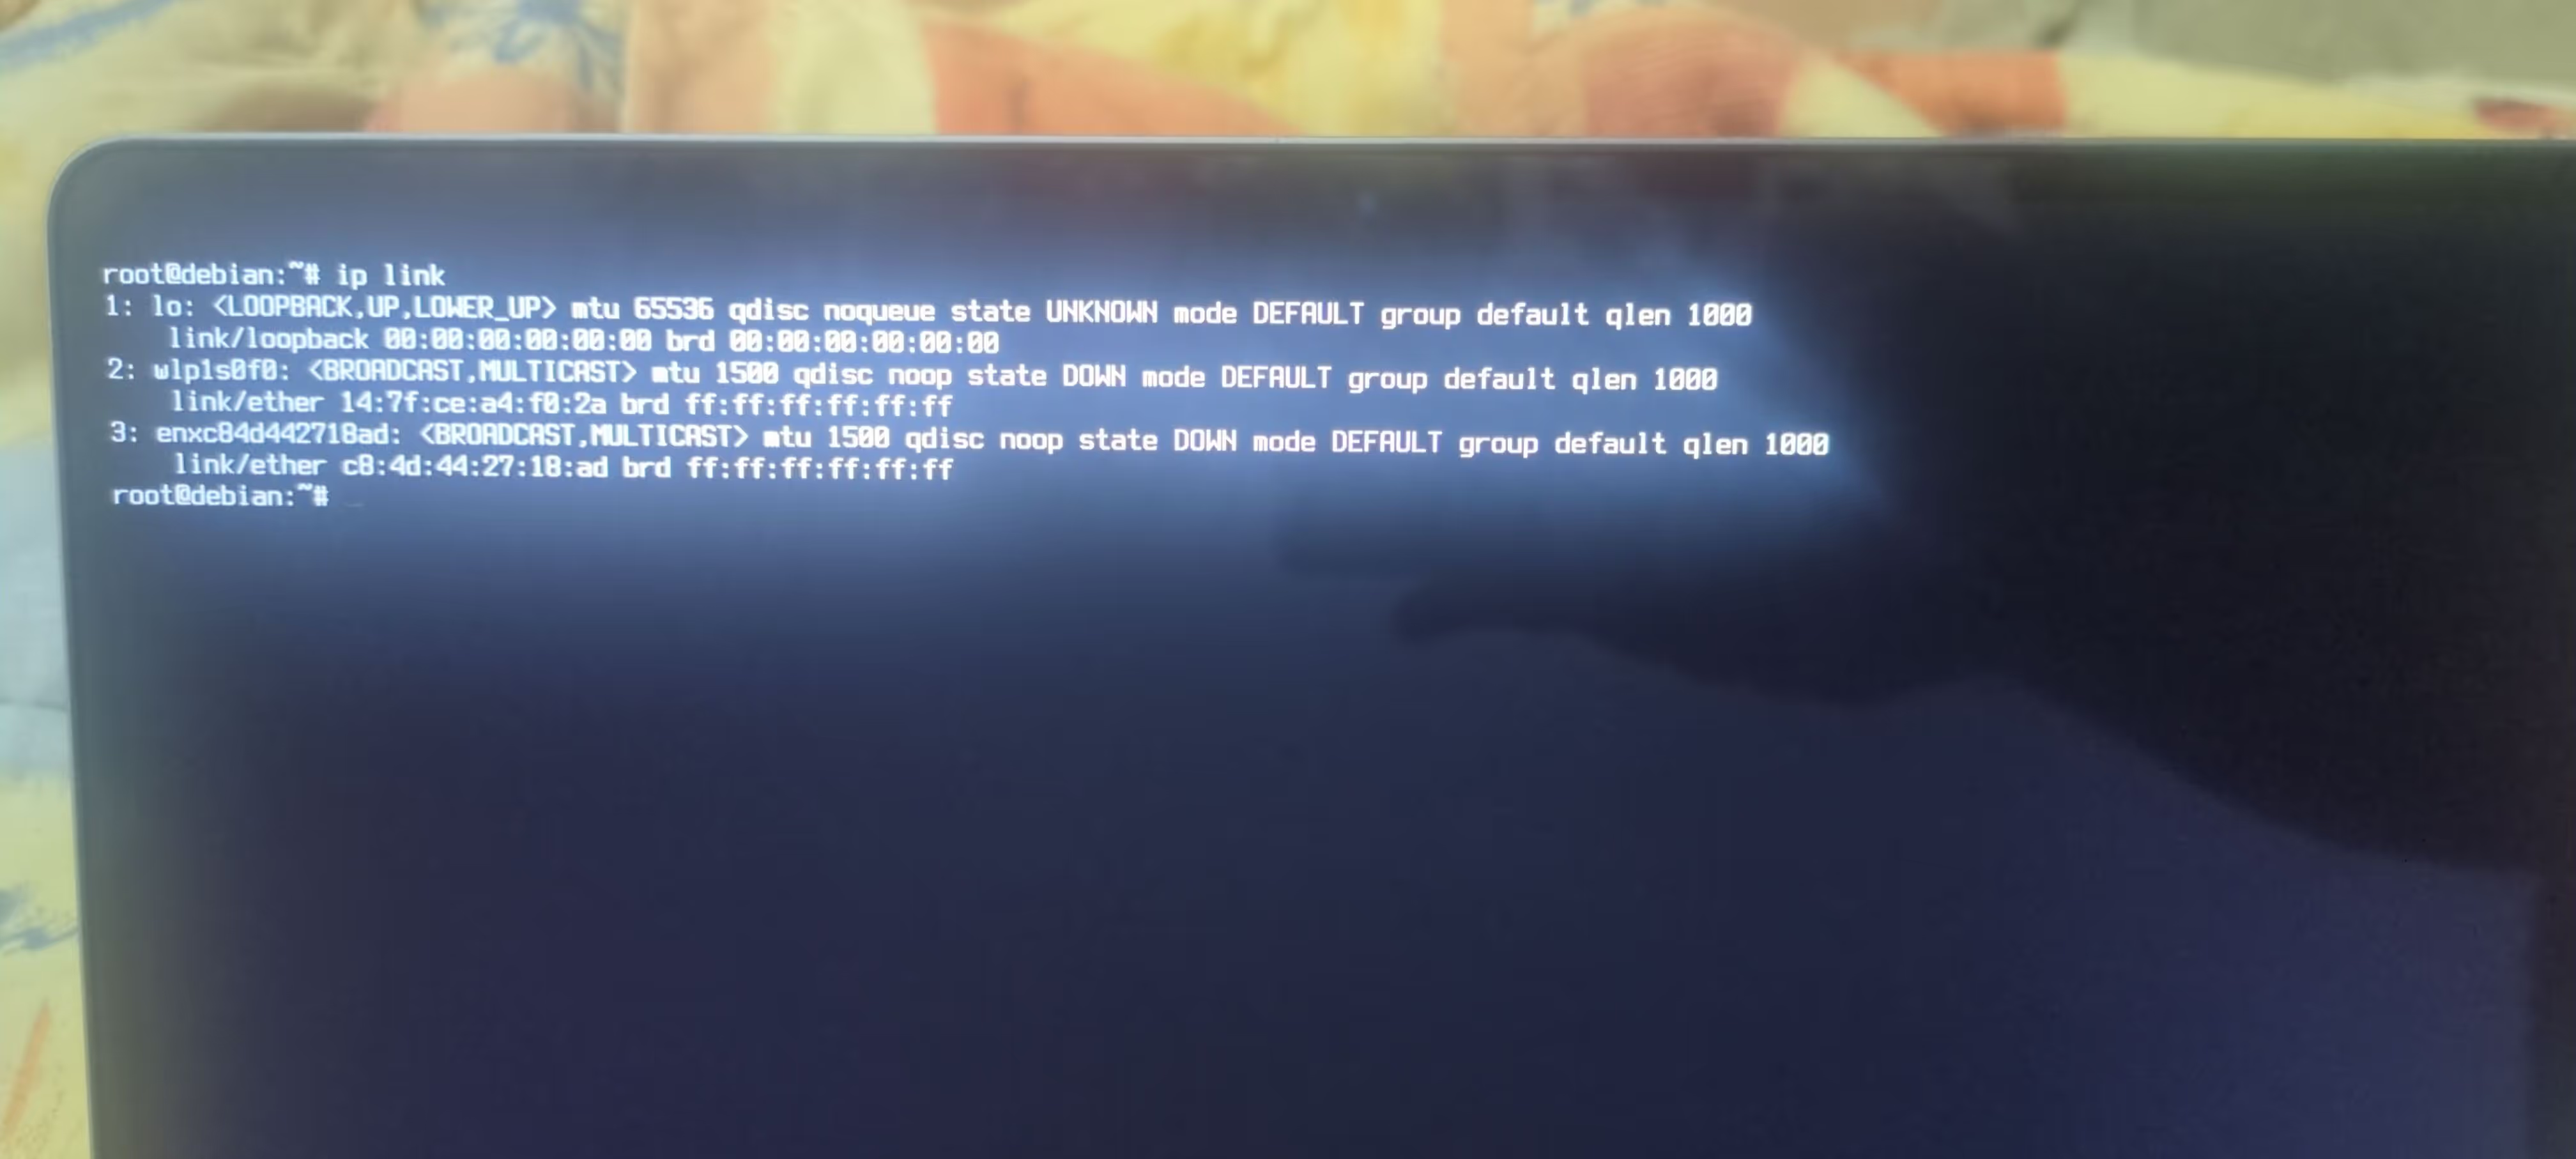
Take note of the logical Ethernet interface, in my device it’s enxc84d442718ad.
ip link
Run nano /etc/network/interfaces and append the following properties
allow-hotplug enxc84d442718ad
iface enxc84d442718ad inet dhcp
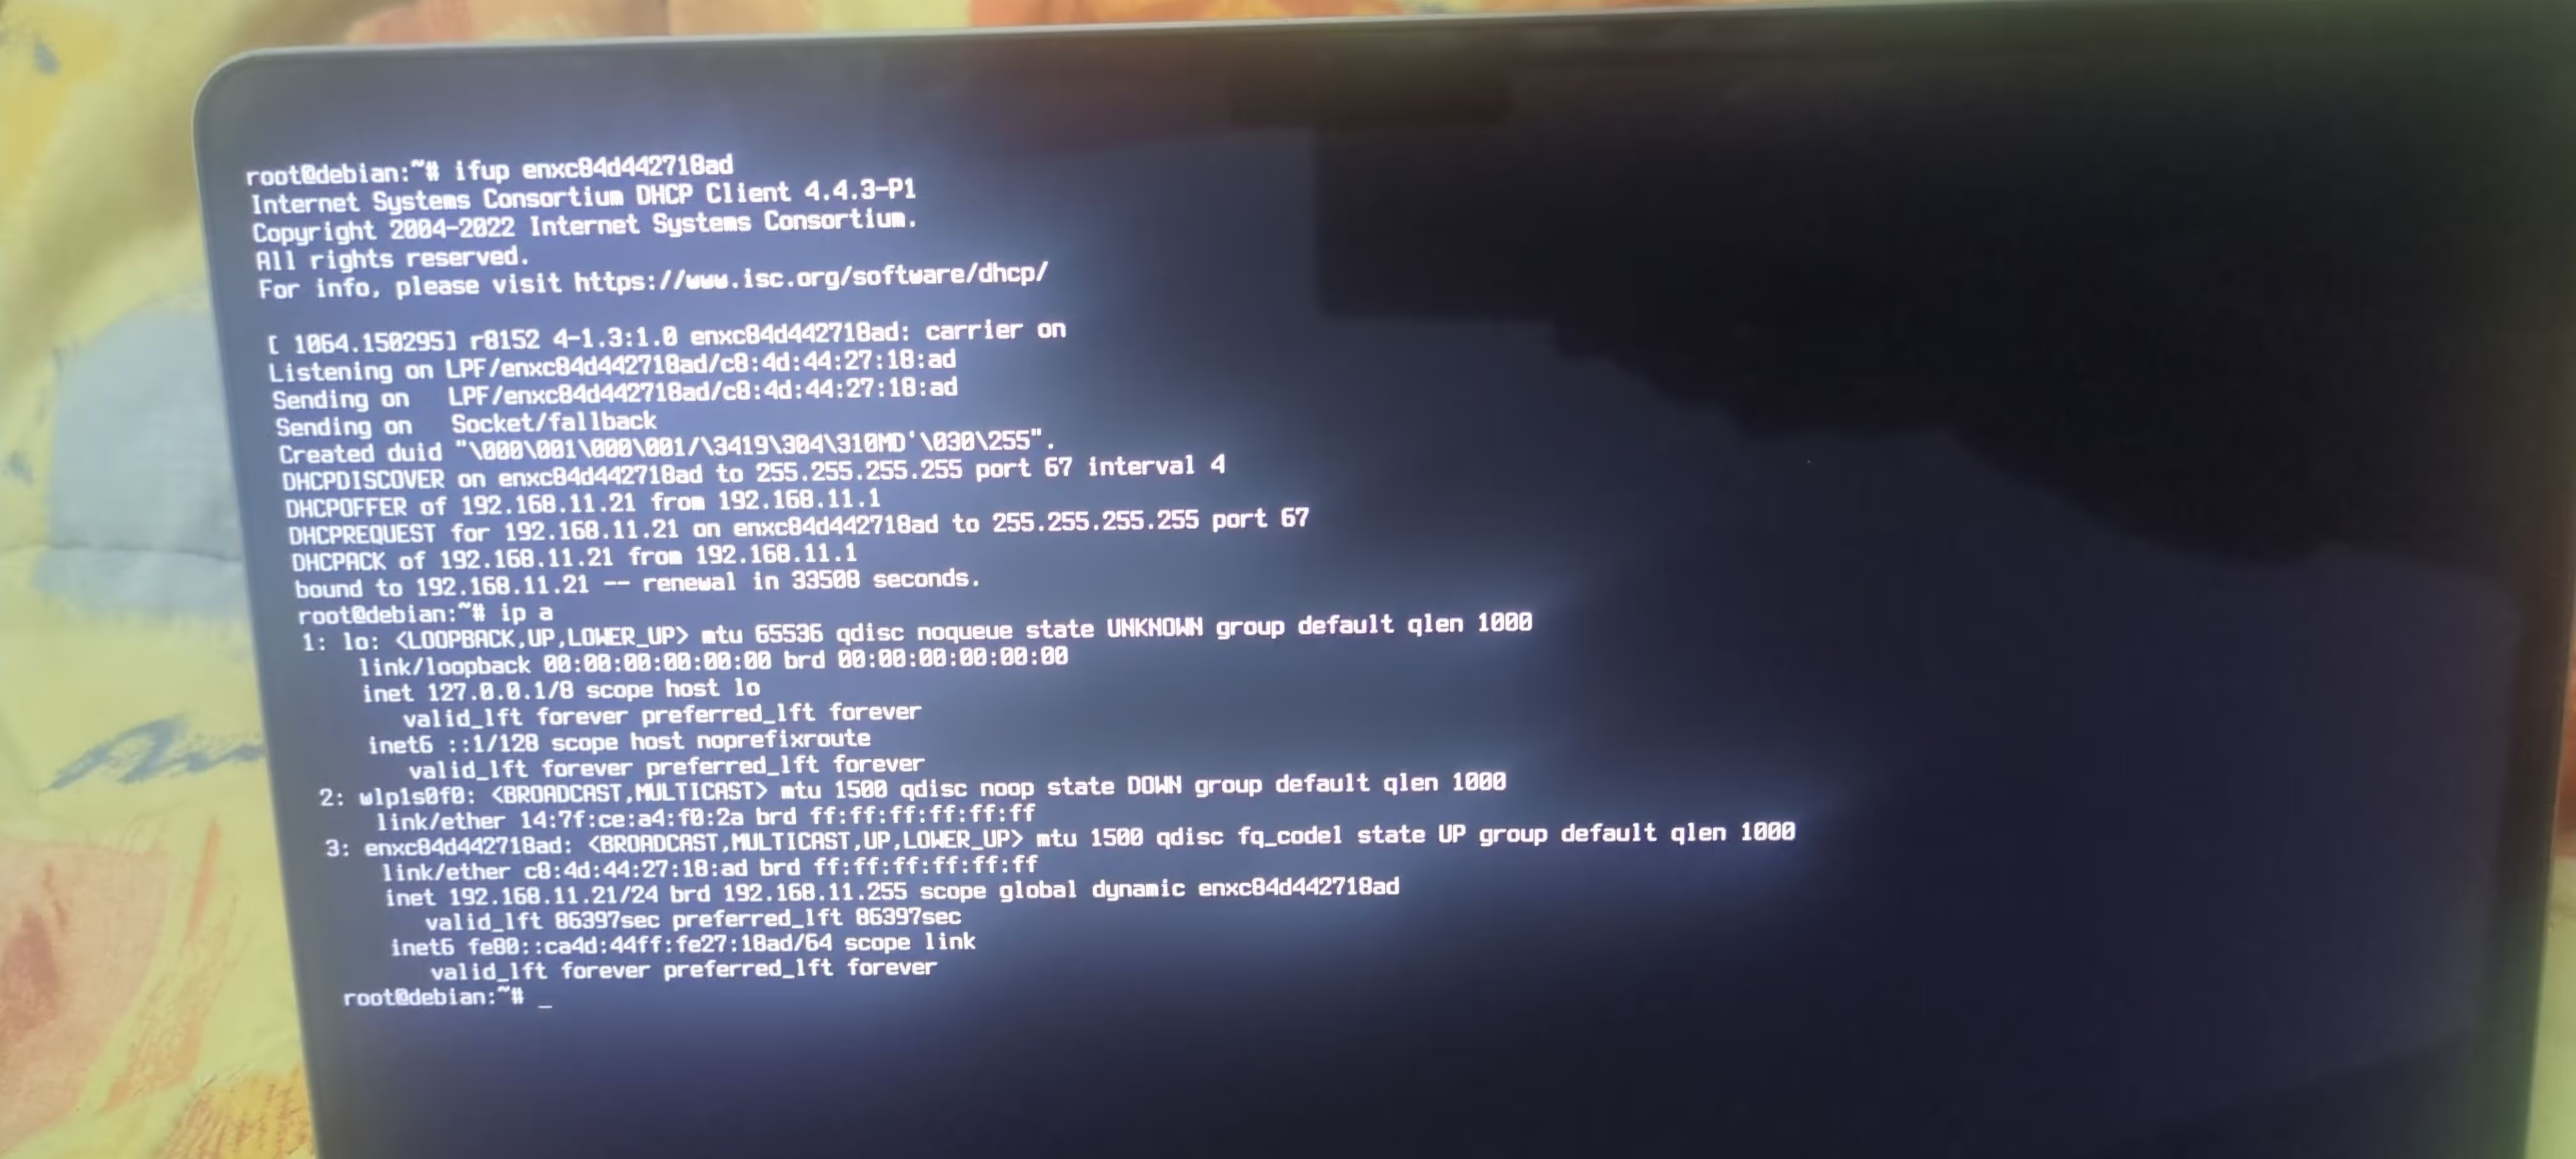
Activate the interface
ifup enxc84d442718ad
Install required packages
This Debian live environment is bare bones, it doesn’t even have a GUI. So you’ll need to install one.
First, update the package cache and then upgrade all your packages.
apt update && apt upgradeSecond, install the required packages
apt install xfce4 dbus-x11 gparted btrfs-progsGrow your Asahi Linux partition
Start xfce with startxfce4
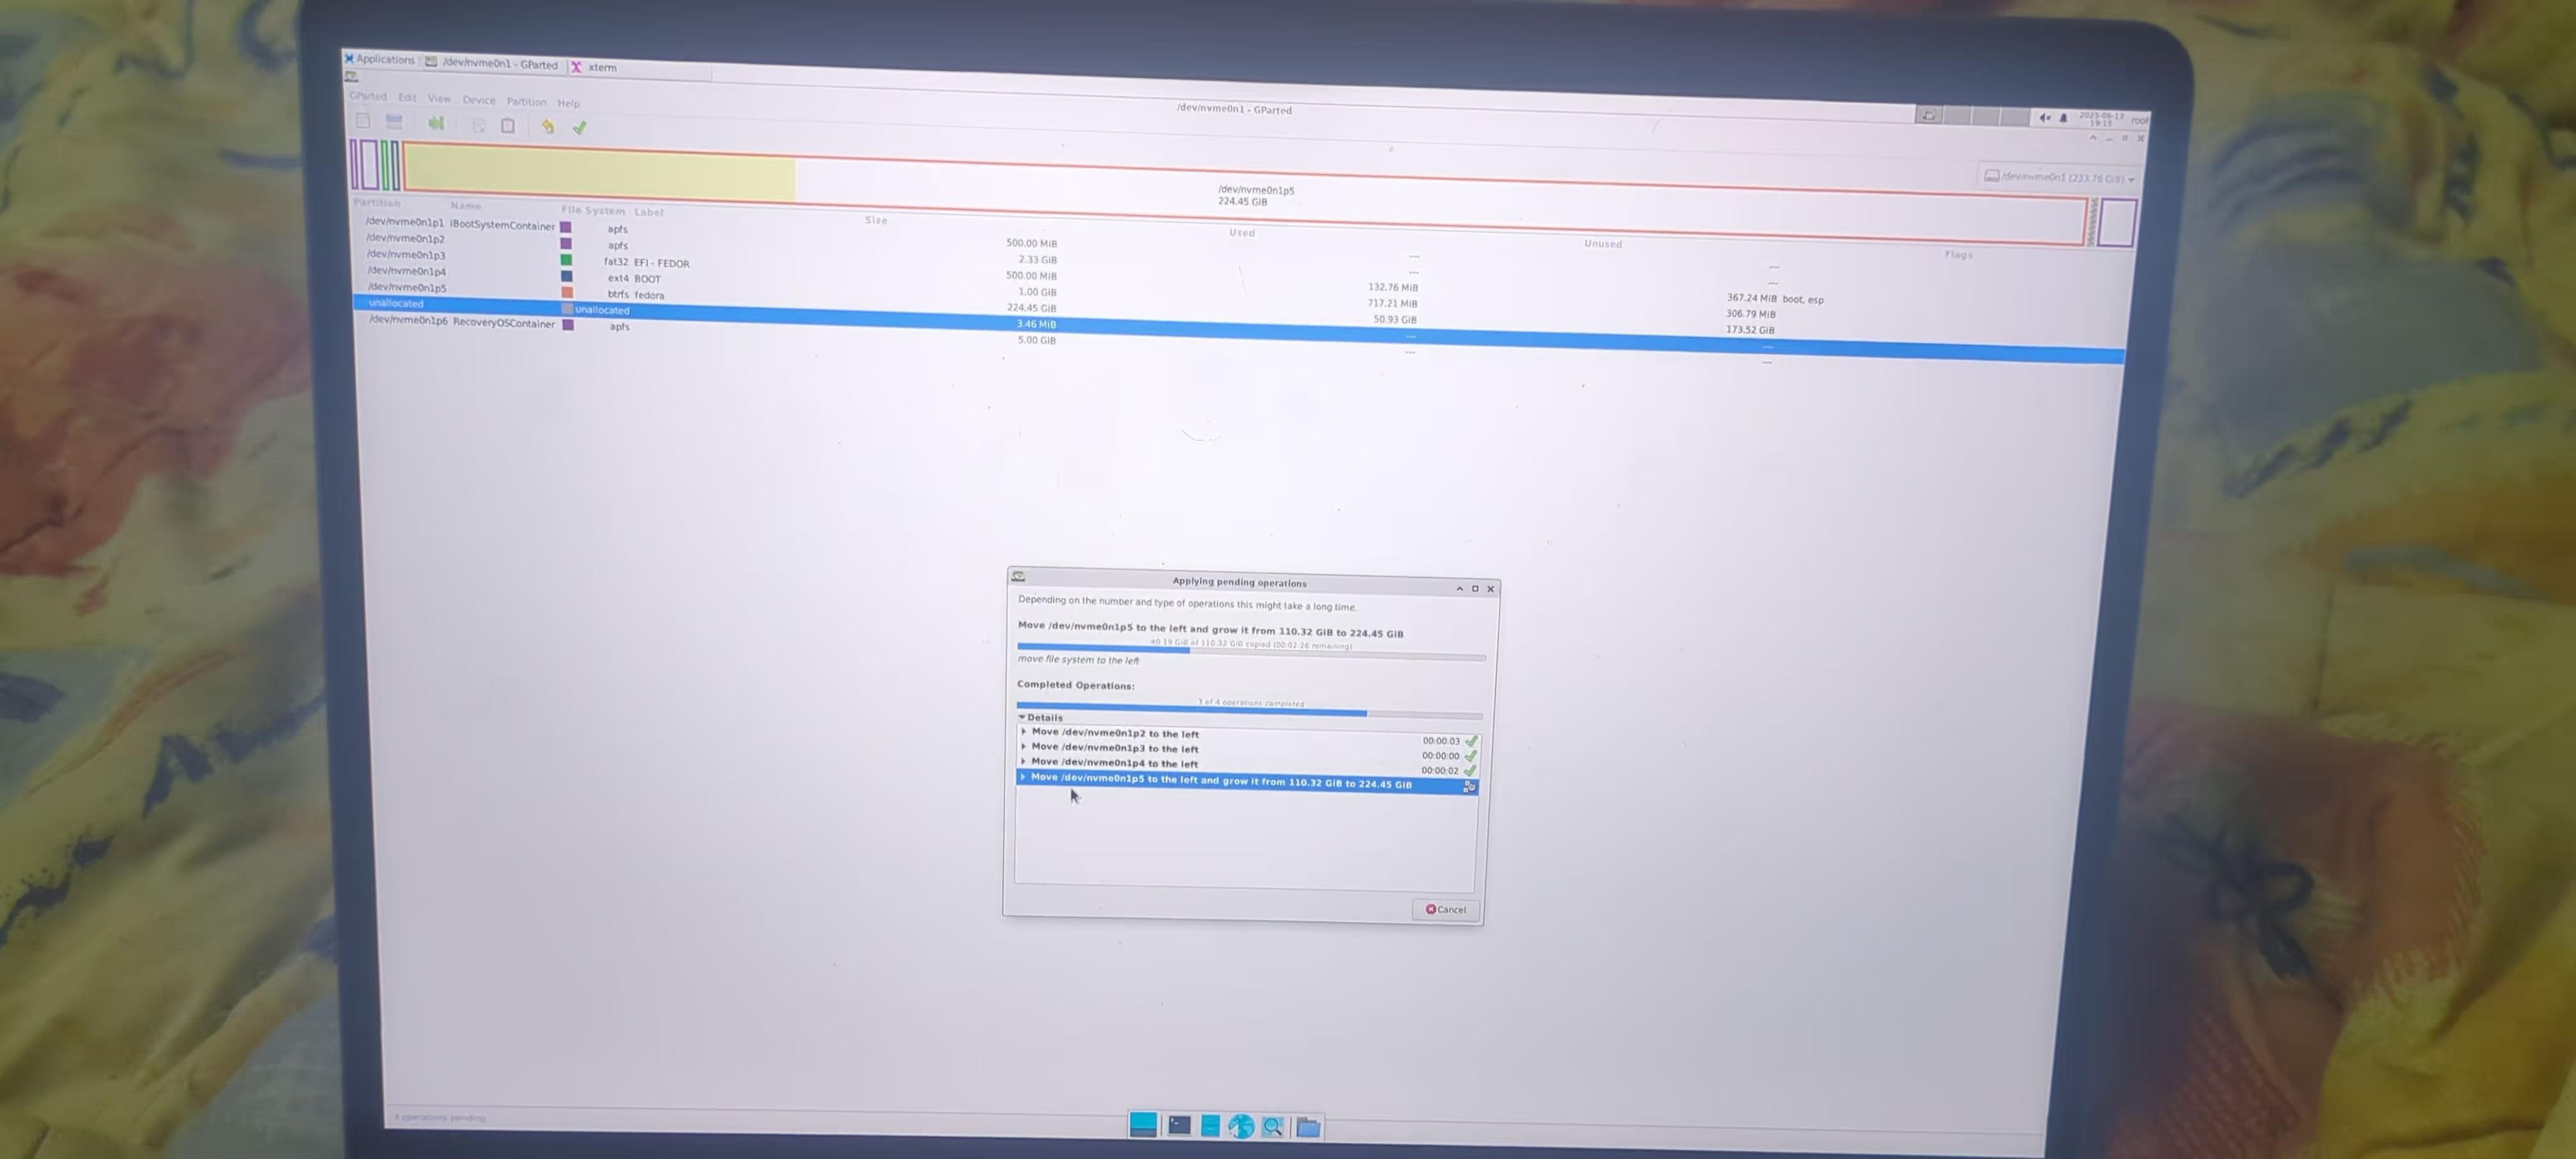
Open a terminal window and run gparted. (You can open GParted directly with the GUI, although I don’t recommend it. If there’s any error you won’t be able to read the standard output or kill the process as easily).
DO NOT RESIZE, MOVE OR OTHERWISE INTERACT WITH THE Apple_APFS_Recovery PARTITION. More information here.
Move every Asahi Linux partition up through the unallocated space.
- Click the partition in GParted, then “Partition” in the toolbar and “Resize/Move”.
- Where it says “Free space preceding (MiB):”, replace with “0”.
- Click on “Resize/Remove” to confirm in the lower right corner.

Conclusion
You now have unmac-ified your Mac, congratulations!
Just be sure to keep around that external macOS for the time being.

Sources
- This reddit post by u/Apaline was the base for this guide.
- Asahi Linux docs was extremely helpful to understand the basics of APFS containers.